Change Your Garden With Red Wigglers: Idea
By establishing a standard worm container and understanding the nutritional demands of these exceptional creatures, garden enthusiasts can considerably improve dirt high quality and plant health. The process of transforming organic waste into abundant, abundant spreadings is both simple and satisfying.
Advantages of Red Wigglers
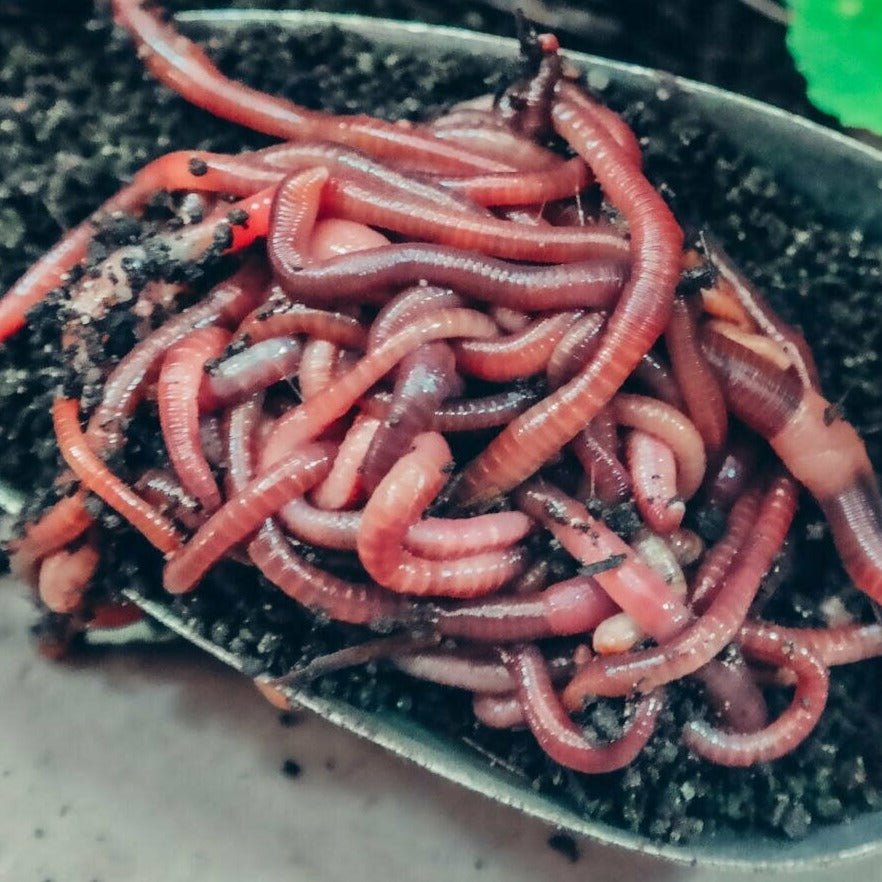
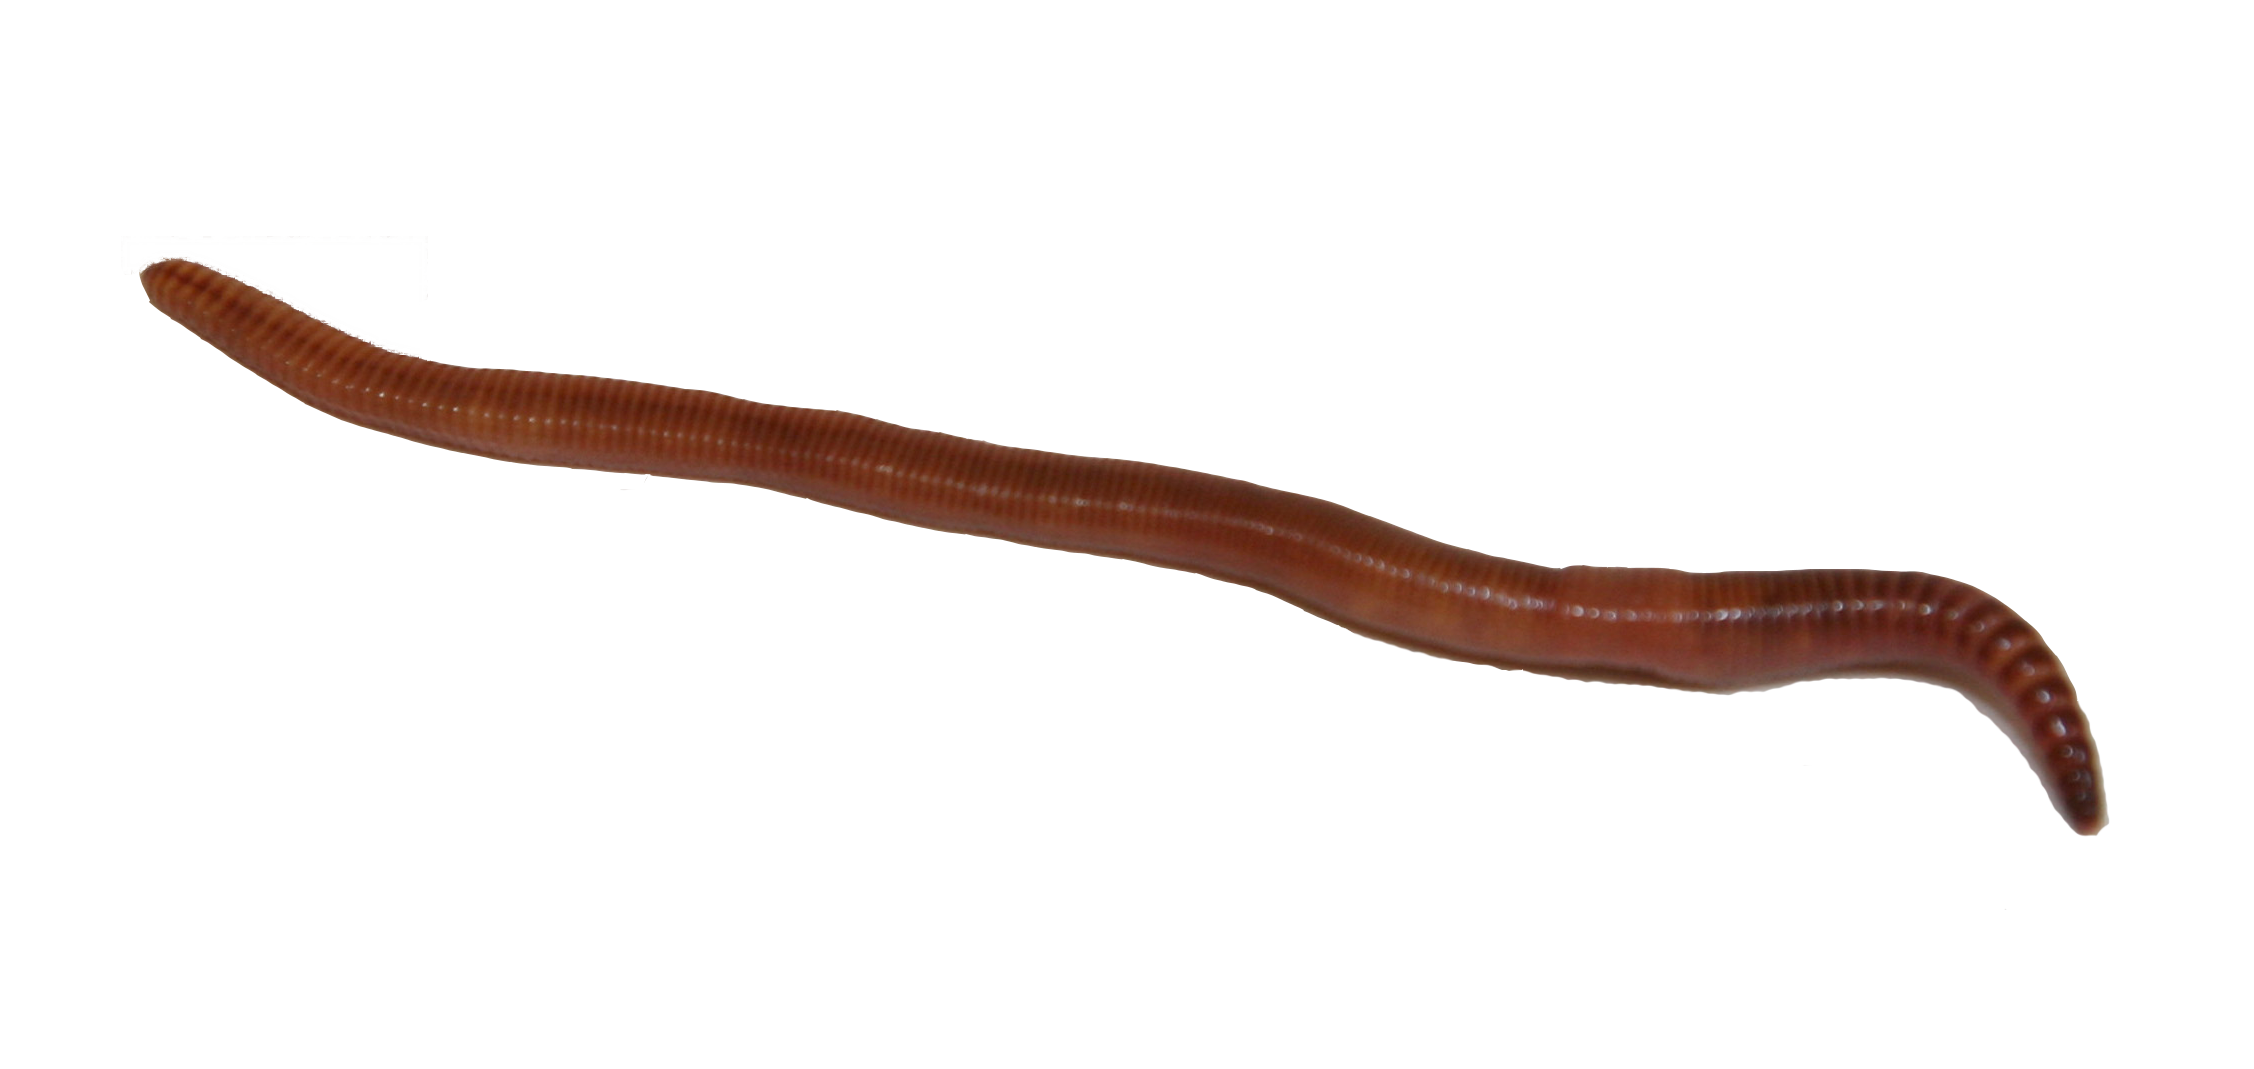
Red wigglers, scientifically called Eisenia fetida, are usually hailed as nature's composting champions. These remarkable worms offer several crucial benefits that can dramatically boost garden health and wellness and performance. Firstly, they are reliable decomposers, damaging down organic material such as kitchen scraps and lawn waste into nutrient-rich vermicompost. This all-natural fertilizer enriches the soil, advertising healthy and balanced plant growth and enhancing soil framework.
One more noteworthy advantage of red wigglers is their capacity to reduce waste. By composting organic products that would certainly otherwise add to garbage dump waste, they play an important role in lasting horticulture practices. Including these worms into your horticulture routine can lead to raised yields, healthier plants, and a more dynamic garden setting, making them indispensable allies for garden enthusiasts seeking to boost their environmental impact.
Establishing Up a Worm Container
Creating a worm container is an essential action for anyone aiming to harness the benefits of red wigglers in their horticulture initiatives. An appropriate worm bin can be made from different products, including plastic containers, wood pet crates, or commercially readily available worm bins. The first factor to consider is size; a container that is at the very least 2 feet wide, 3 feet long, and 1 foot deep is typically perfect for a tiny to medium variety of worms.
Following, guarantee correct drainage and ventilation. Drill holes in the bottom for excess dampness to get away and in the sides for air flow. It is very important to create a bed linen layer, making use of products such as shredded newspaper, cardboard, or coconut coir to supply a comfortable environment for the worms. The bedding needs to be moist yet not soaked, resembling a moist sponge.
Location the container in a place that keeps a regular temperature, ideally in between 55 ° F and 77 ° F. Avoid direct sunlight or extreme chilly, as these problems can harm the worms. Once try these out the bin is established, permit the bed linen to choose a couple of days prior to introducing the red wigglers, ensuring they have a growing atmosphere in which to prosper.
Feeding Your Red Wigglers
When the worm bin is established and the red wigglers are introduced, proper feeding becomes vital to keeping a healthy and balanced worm population. Red wigglers grow on a diverse diet regimen, largely being composed of kitchen area scraps and organic materials.
When introducing food, cut the scraps into smaller sized pieces to help with quicker intake. Additionally, bury the food below a layer of bedding product to avoid fruit flies and other problems. Display the feeding frequency; a basic guideline is to give food every 1-2 weeks, depending on the variety of worms and the amount of food waste produced.
Collecting Worm Spreadings
Exactly how can you tell when it's time to gather worm castings from your container? The readiness of worm castings is indicated by a couple of essential signs. First, the material in the bin should show up dark, crunchy, and rich in appearance, resembling a fine soil. Additionally, the original food scraps ought to be considerably damaged down or almost unrecognizable, indicating that the worms have successfully refined them.
An additional indicator is the reduction in worm task; as the spreadings gather, worms have a tendency to move towards fresher food sources. If you observe a decline in worm motion and the existence of castings at the bottom of the container, it's a clear signal that harvesting is due.
To collect, carefully dig the spreadings, taking care to decrease disturbance to the worms. A prominent technique involves dividing the spreadings making use of light; worms have a tendency to tunnel far from the light, enabling you to accumulate the castings more conveniently.
Collecting regularly, approximately every 3 to 6 months, ensures a continual supply of this nutrient-rich amendment for your gardening endeavors. Keep in mind, the top quality of your castings straight impacts the wellness of your plants.
Utilizing Castings in Your Yard
(red worms)Making use of worm spreadings in your yard can significantly enhance soil health and wellness and plant growth - red worms. These nutrient-rich natural plant foods give important macro and micronutrients, boosting the overall fertility of your dirt. By integrating worm castings right into your yard beds, you can advertise valuable microbial task, which aids in vitamins and mineral availability and boosts soil framework
To utilize worm castings effectively, mix them right into the leading few inches of soil prior to planting. You can create a nutrient-dense fluid fertilizer by steeping worm spreadings in water for a week, then using the resulting "worm tea" straight to your plants.
Worm spreadings additionally enhance wetness retention within the dirt, lowering the need for constant watering. Frequently including worm spreadings into your gardening regimen can lead to robust plant growth, increased returns, and a total healthier garden community.
Verdict
By developing a worm bin, providing proper food, and consistently gathering nutrient-rich spreadings, garden enthusiasts can foster a sustainable community. The use of worm spreadings and "worm tea" additionally adds to moisture retention and nutrient availability in the dirt.